
Parenting
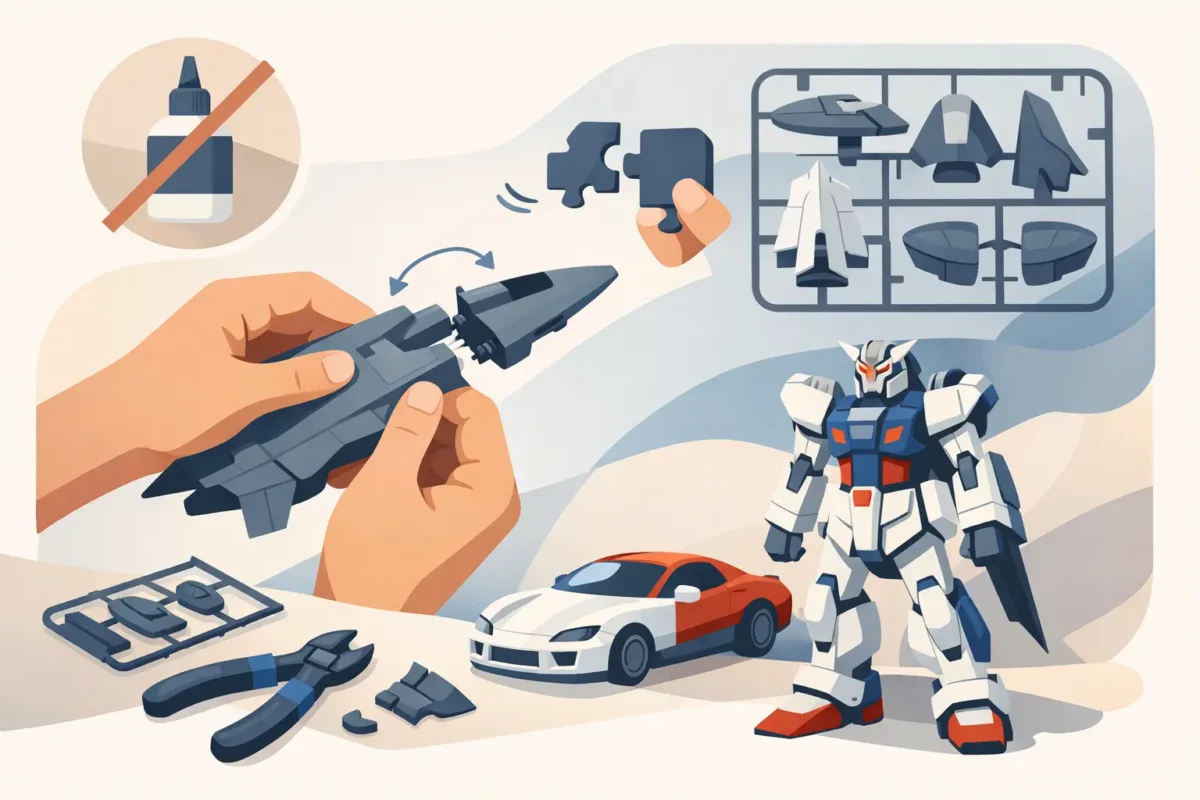
How to assemble models without glue properly
May
Anyone trying to figure out how to assemble glue-free model kits for the first time usually starts with a very simple doubt: will it really all hold together? The answer is yes, but only if the kit is well-designed and the assembly follows a precise logic. This is precisely where interlocking model kits make the difference: they turn assembly into a clean, relaxing, and surprisingly rewarding activity, without odors, without waiting, and without the fear of dirtying the table.
For many families and for those who love creative DIY, this formula has an immediate advantage. You open the box, organize the pieces, and start. No tubes to measure, no sticky hands, no rushing to find extra tools. When the project is precisely engineered, glue-free assembly is not a shortcut: it is part of the experience.
How to correctly assemble models without glue
The first thing to understand is that a glue-free model is not assembled like any ordinary object. It's not enough to push the pieces all the way in and hope everything fits. An orderly approach is needed, especially with laser-cut wooden models, where each joint is designed to offer stability and visual cleanliness.
It's best to start with a clear, well-lit workspace large enough to keep instructions, panels, and components separate. This detail may seem trivial, but it avoids half of the most common mistakes. When small pieces get confused or mixed up too soon, assembly slows down and becomes less enjoyable.
Another useful step is to observe the kit before detaching everything. Looking at the overall structure helps to understand how the model develops, which sections bear weight, and which are decorative. In mechanical model kits, this aspect matters even more, because a shaft assembled incorrectly at the start can affect the final movement.
Removing pieces without damaging them
In quality kits, the components remain attached to the panels with small connection points. The temptation is to quickly snap them off with your fingers, but that's not always the best choice. If the piece is thin or shaped, it's better to handle it gently, freeing it little by little.
Forcing a wooden element can leave a small splinter or alter the precision of the interlock. This does not mean the kit is fragile. It simply means that precision deserves attention. The beauty of these model kits lies precisely in this balance between manual skill and accessible engineering.
Following the order really matters
When it comes to how to assemble glue-free model kits, the assembly order is not a minor detail. In many cases, it is the reason the model is stable and functional. Some pieces lock in the subsequent ones, others must be inserted before the structure closes, and still others serve to align the moving parts.
Skipping ahead because a step seems easy can create problems later. It's better to proceed calmly, checking each time that the piece is in the right position and correctly oriented. A joint assembled backwards often fits anyway, but then it doesn't work as it should.
Why choose glue-free interlocking models
The most obvious advantage is cleanliness. There are no residues to remove, surfaces to protect, or drying times to respect. This makes assembly easier for adults and more relaxed for children as well, especially when looking for a shared activity at home.
There is also a matter of precision. In kits designed for dry assembly, each joint is designed to hold through shape, pressure, and interlocking. The final result appears neat and consistent, without visible imperfections. For those who appreciate natural materials, wood also retains all its aesthetic presence, without being covered or altered by glues and solvents.
From an experiential point of view, glue-free assembly also has a different rhythm. You build, you test, you correct if needed. It is a more immediate and more readable process, perfect for those who want an intelligent but accessible hobby. It is no surprise that it is highly appreciated both by beginners and by those looking for an original gift that combines manual skill, concentration, and final satisfaction.
The most common mistakes to avoid
The most frequent mistake is using too much force. If a piece does not fit, the problem is often not the tightness of the interlock but the alignment. It is better to stop, check the orientation, and try again with even pressure. Forcing almost never actually speeds up the assembly.
A second mistake is detaching all the pieces at once. Doing this at the start may seem practical, but it increases the risk of confusion and makes it harder to recognize similar components. Working in sections is more organized and saves time.
Then there is the rush to see the finished result. This is understandable, especially with scenic models like trains, retro cars, gears, or articulated dinosaurs. But the most beautiful kits are often those that reward patience. Each well-executed step improves the aesthetic result and, in functional models, the movement as well.
What to do if a joint seems too tight
Here, a simple rule applies: observe before acting. Sometimes a small residue remains in the panel's connection point, other times the piece isn't perfectly aligned. In these cases, just reposition calmly and apply controlled pressure.
If the model is made of wood, the environment can also have a slight effect. Humidity and temperature can make the material a bit more reactive. This is not a defect, it is a natural characteristic. Precisely for this reason, it is advisable to assemble the kit in a dry and stable environment, avoiding makeshift or overly humid surfaces.
How to assemble glue-free models with children or beginners
If the assembly involves a child from 7 years and up, the secret is not to simplify everything but to choose the right level. A well-designed glue-free model allows real participation, not just watching an adult do the hard work. Some steps will require support, but the sense of achievement remains intact.
A very hands-on approach works well with beginners: first, identify the main pieces, then complete one small section at a time. Seeing a wheel turn, a mechanism move, or a structure take shape immediately boosts motivation.
It’s also a great offline activity. It keeps hands busy, trains attention and spatial logic, and creates shared time that doesn’t depend on screens or batteries. For many families, this is the real added value: not just an object to display, but an experience built together.
Which models are best suited for glue-free assembly
Not all models offer the same experience. If you're a beginner, it's better to start with clear structures and easily distinguishable components. Simple vehicles, small mechanisms, animals, and decorative models are often a great entry point because they provide satisfaction without requiring prior experience.
Those looking for something more engaging can look into mechanical models with gears, transmissions, or moving parts. In these cases, the assembly is richer and the final result has double value: decorative and functional. It’s also an ideal choice for those who want to give something different from the usual, with strong visual impact but also educational content.
Puzzle3D works precisely on this idea: wooden kits that require no glue or special tools, but deliver the pleasure of building with precision, natural materials, and real mechanisms.
The real advantage isn’t just simplicity
Reducing everything to the word easy would be limiting. Assembling without glue is convenient, sure, but the main point is something else: it makes modeling more accessible without taking away depth from the experience. Beginners don’t feel left out, while those with more skill continue to find challenge, detail, and satisfaction.
There’s also an aesthetic quality that is often underestimated. Wooden interlocking models have a warm, natural presence, pleasant to see at home or in the studio. Once finished, they don’t seem like simple pastimes. They become objects that tell of time, attention, and a taste for things well done.
If you're wondering where to start, the best answer is to choose a model that suits your pace. Not the most complex, not the fastest, but the one that makes you want to sit at the table and start piece by piece. That's when glue-free assembly stops being just practical and becomes truly rewarding.
