
Parenting
How to Assemble a 3D Mechanical Puzzle
Jun
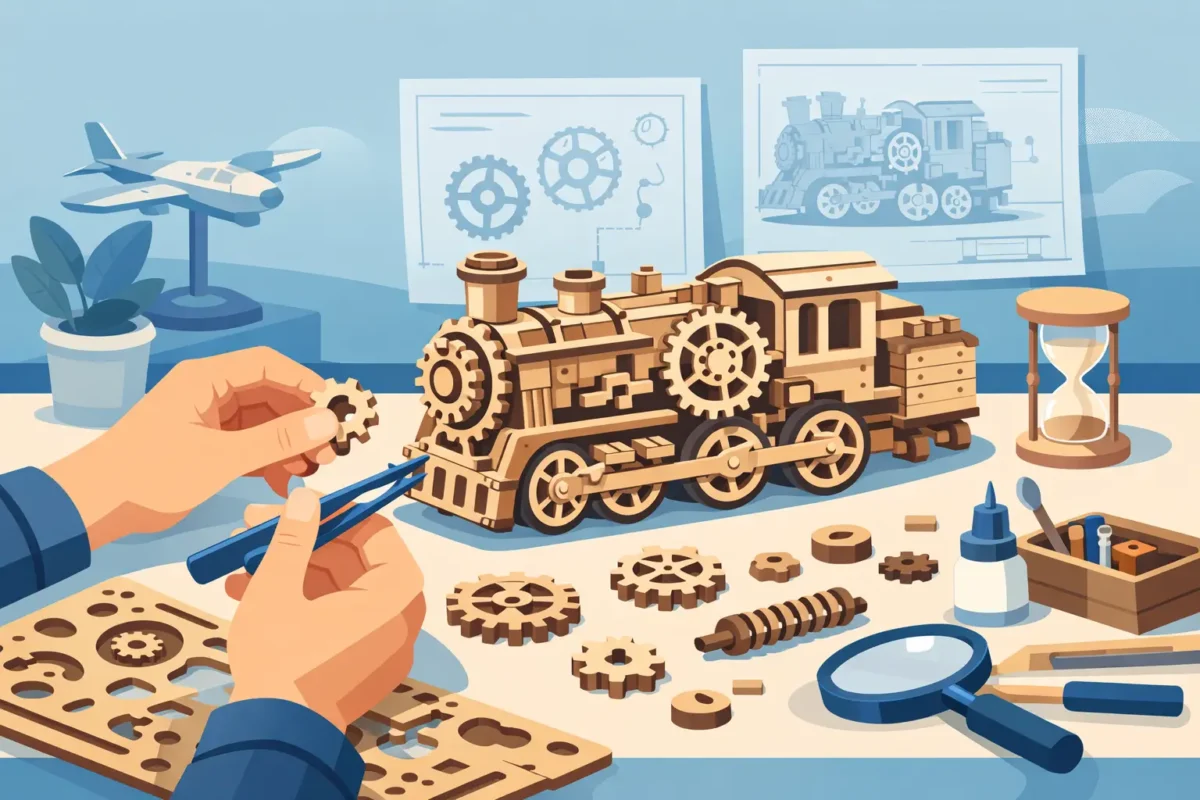
There is a precise moment when a mechanical 3D puzzle stops being a series of wooden boards and starts becoming something alive: when the first gears fit together well and the model truly begins to move. Knowing how to assemble a mechanical 3D puzzle the right way makes the experience smoother, more relaxing, and much more satisfying, whether you are on your first build or looking for a more detailed project.
The good news is that these models are designed to be assembled without glue or special tools. This doesn't mean they should be rushed. Rather, it means the pleasure lies in precision, rhythm, and attention to small steps. With a bit of method, even an articulated model can become an activity that's simple to follow and enjoyable to complete.
How to assemble a mechanical 3D puzzle without errors
Preparation matters more than it seems. Before removing the pieces, it's best to set up the table in a well-lit area that's clear enough to accommodate both the wooden boards and the growing model. A stable surface helps avoid incorrect pressure, especially in areas with thin joints or wheels that need precise alignment.
Order also makes a difference. Opening the kit and calmly observing the sheets allows you to understand the overall structure of the project. You don't need to study every detail like it's an exam, but it's helpful to skim the instructions from start to finish to get an idea of the trickiest steps. In mechanical models, assembly follows not just an aesthetic criterion: often, a piece inserted too early or in the wrong direction can slow down everything else.
Before starting, wash and dry your hands well. Natural wood is pleasant to touch and very practical to assemble, but a clean grip helps avoid marking the pieces and managing small components better.
Check the pieces before removing them
A common mistake is pressing too hard to free the components from the boards. In reality, it's better to do it gradually, pushing at points already slightly separated by the cut. If an element resists, don't force it immediately. It's better to rotate the board, support the area around the piece well, and guide it out with your fingers.
When a component is removed cleanly, the subsequent fit will be more precise. If a small wood residue remains at the connection points, it can be gently removed. This detail seems minor, but in mechanical 3D puzzles, the smoothness of movement often depends on very small tolerances.
Follow the orientation of the pieces
Many elements appear symmetrical but are not. A gear, a side support, or a lever can have a correct side and an almost correct one. The almost correct one is what causes problems ten steps later, when realizing the error costs more time.
For this reason, it's useful to always compare shape, orientation, and numbering with the drawing in the instructions. If a piece doesn't fit with reasonable pressure, it's not time to insist. In well-designed kits, the correct fit is recognizable because it's firm but logical.
Step-by-step assembly
After preparation, it's best to proceed by functional groups. In mechanical models, there is almost always a base, a supporting structure, and a moving part. Assembling the frame first helps give stability to the whole; then moving on to the gears or moving elements reduces the risk of having to disassemble something later.
When you get to the mechanical system, slow down. It's the heart of the model. Gears, axles, wheels, and levers must be inserted in the correct direction and with the right alignment. If an axle appears slightly tilted or a wheel jerks already at this stage, it's best to correct it immediately. Waiting won't improve the situation.
In models with winding movement or articulated parts, it's normal to feel some initial resistance. The wood needs to settle into its contact points. However, there is a clear difference between natural resistance and an abnormal block. If the movement is stiff but continuous, you're probably on the right track. If instead you feel uneven friction, sudden jerks, or pieces pushing sideways, it's better to go back one or two steps.
When to stop
Assembling well doesn't mean finishing quickly. It means knowing when to take a two-minute break to check. This is especially true in more detailed models, like trains, retro cars, tractors, or planetary mechanisms, where the decorative and functional parts coexist in the same space.
If you build together with a child, the rule is even more useful. Some steps are perfect for sharing the moment, like organizing the pieces or assembling large, intuitive parts. Others, however, require a steadier hand and careful reading of the instructions. The experience remains highly educational precisely because it combines hands-on work, observation, and patience, but it needs to be adjusted based on the age and complexity of the model.
The most common mistakes when assembling a mechanical 3D puzzle
Mistake number one is rushing. The desire to see the finished model is understandable, especially when the design is spectacular and the mechanism promises real movement. However, speeding often leads to popping out too many pieces at once, mixing them up, or skipping an essential check.
The second mistake is using too much force. These kits are designed to work with precise interlocking, not excessive pressure. If you have to push really hard, there’s something to check. Sometimes the issue is incorrect orientation, other times a small residue on the connection point.
Then there’s a subtler mistake: treating a mechanical 3D puzzle as if it were purely decorative. In reality, many wooden models are designed to move, spin, wind up, or activate a sequence. This changes how they are assembled. It’s not enough for the pieces to stay together; they must work together.
How to make assembly easier and more enjoyable
The best way to enjoy the process is to choose the right level. If you’re a beginner, a model with simple mechanics offers immediate gratification and helps you get comfortable with interlocking parts, axles, and movement. If you already have experience, a more complex project can be much more satisfying, but it requires more time and concentration.
The setting also matters. Building in a quiet moment, without constant interruptions, changes the experience. The mechanical 3D puzzle works very well as an evening activity, on the weekend, or as a shared idea between parent and child, because it allows you to spend time together doing something concrete. It’s a type of smart entertainment that leaves you with a real object, nice to look at and often to use or display.
Materials play their part. Precision-cut wood provides a different feel from plastic: more natural, warmer, closer to the idea of handcrafted construction. For many families and for those looking for an original gift, this detail is not secondary. It means bringing home a creative experience that combines hands-on work, design, and attention to more sustainable materials.
After assembly: testing, small adjustments, and model care
When the model is complete, a phase that deserves as much attention as the assembly begins: testing. Move the mechanism gradually, without speeding up right away. Observe if all parts work smoothly and if the movement is consistent with what is expected.
Sometimes just a small realignment can improve everything. An axle inserted all the way, a gear repositioned better, or a structural part pressed with more precision can make a big difference. It’s not a defect of the model; it’s part of the nature of manual assembly.
Once finished, the mechanical 3D puzzle also becomes a decorative object. To keep it looking good, it’s best to store it in a dry place, away from humidity and bumps. If handled often, gentle cleaning with a dry cloth helps preserve its appearance and functionality.
For those who love this type of experience, the next step almost comes naturally. After the first model, you start to better recognize the logic of the interlocking parts, the behavior of the gears, and the pleasure of seeing a project take shape with your own hands. It’s one of the reasons why Puzzle3D kits are so popular with those looking for a relaxing, educational hobby that’s different from the usual screen.
If there’s one piece of advice that always applies, it’s this: let the model guide you. A well-designed mechanical 3D puzzle doesn’t ask for speed; it asks for attention. And right there, between a precise interlock and a movement that finally starts, lies the most beautiful part of the experience.
